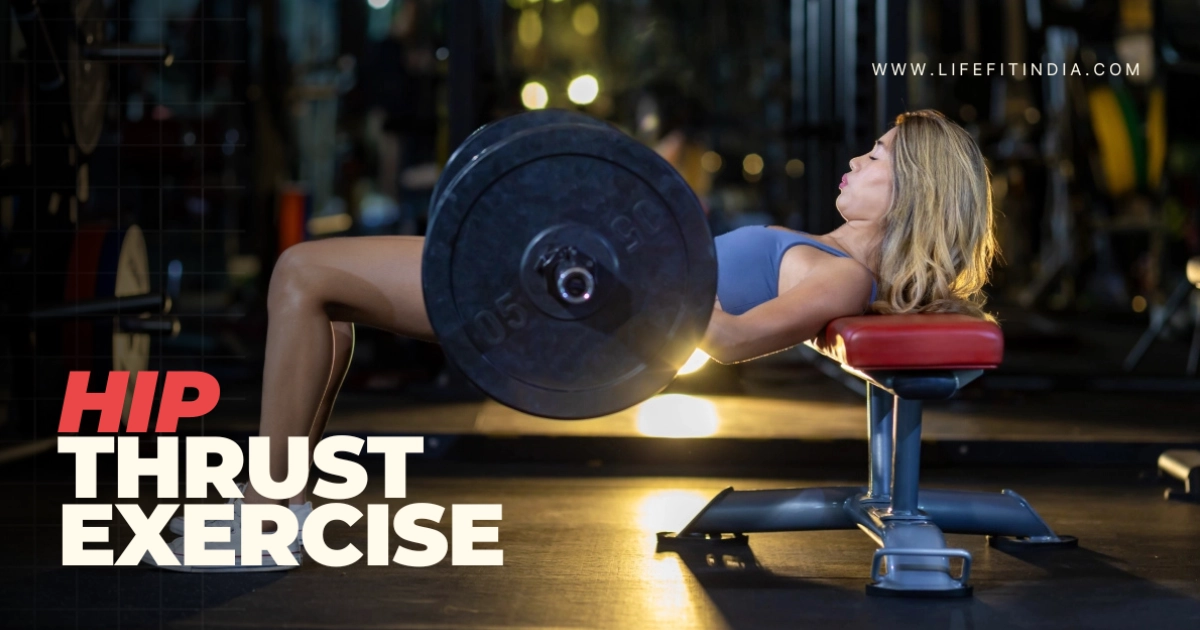
The hip thrust exercise has become a go-to movement for building strong, powerful glutes. Maybe you’ve seen it in the gym or heard fitness experts talk about it. There’s a good reason for the buzz. This exercise is incredibly effective at targeting your glute muscles, arguably even more so than some traditional exercises like squats. If you’re looking to build lower body strength, improve athletic performance, or simply enhance your physique, understanding the hip thrust exercise is key.
This guide will walk you through everything you need to know. We’ll cover the hip thrust benefits, the muscles involved, how to perfect your hip thrust form, common mistakes to avoid, variations to try, and how to add it safely into your routine. Let’s get started on building those glutes.
Why Should You Do the Hip Thrust Exercise?
So, what makes the hip thrust so special? It’s all about how it targets your muscles, especially the glutes.
Muscles Worked During the Hip Thrust Exercise
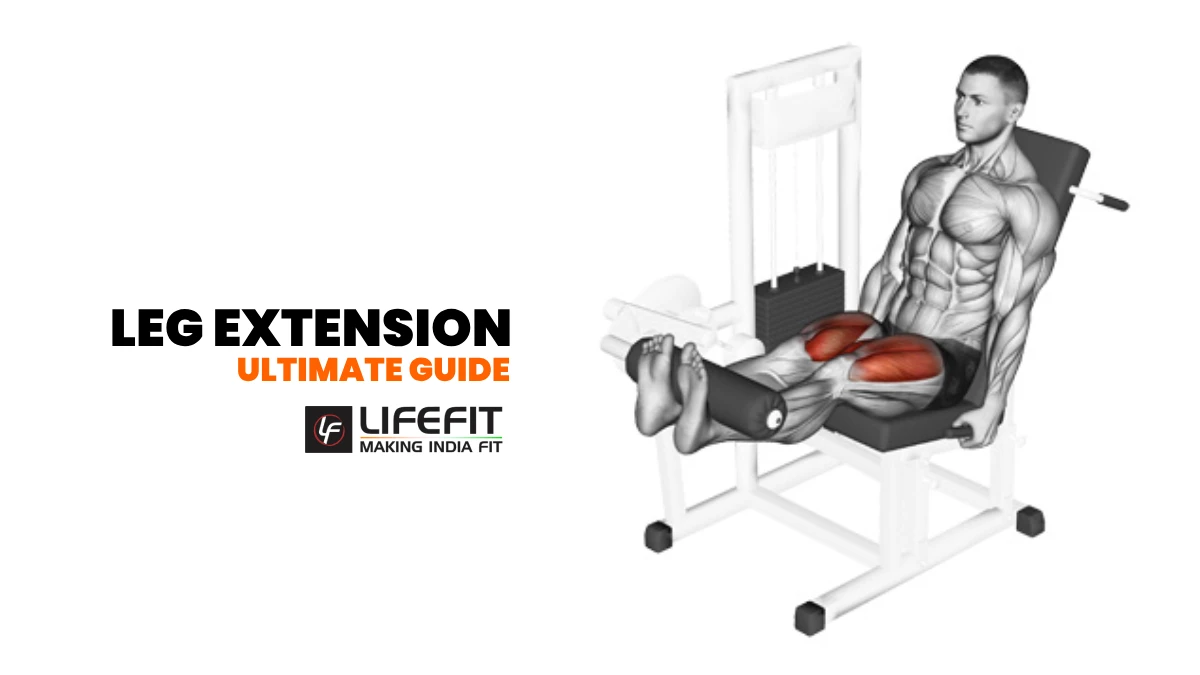
Gluteus Maximus: This is the largest muscle in your body and the main driver of the hip thrust movement. It’s responsible for extending your hips (pushing them forward) and gives your backside its shape. Consistent hip thrusts directly strengthen and can help grow this muscle.
Gluteus Medius & Minimus: Located on the sides of your hips, these muscles help stabilize your pelvis and move your leg outward. They work hard during hip thrusts, especially single-leg versions, to keep you balanced. Strengthening them is important for hip health and stability. Studies show that strong glutes, particularly the medius, play a role in stabilizing the pelvis and core, potentially reducing lower back strain.
Hamstrings: These muscles on the back of your thigh help your glutes extend your hips.
Quadriceps: Found on the front of your thigh, quads mainly help stabilize your knees during the thrust.
Core Muscles (Abs and Lower Back): Your core works hard to keep your spine stable and neutral throughout the movement. A braced core is essential for safety and effectiveness.
Key Hip Thrust Benefits
Performing the hip thrust exercise regularly offers numerous advantages:
Stronger, Firmer Glutes: This is the most well-known benefit. Hip thrusts are excellent for building both strength and size in your glutes. Research confirms high glute activation during this exercise, especially compared to some other traditional lifts.
Improved Athletic Performance: Powerful glutes are crucial for many sports. Hip thrusts can help improve sprinting speed, jumping height, and overall power. Studies suggest hip thrust training can lead to better sprint performance.
Better Posture and Reduced Pain: Strong glutes support your pelvis and lower back, which can improve posture and potentially reduce back pain. Weak glutes can sometimes contribute to issues like anterior pelvic tilt, and strengthening them helps maintain proper alignment.
Increased Stability: By working your hips and core, hip thrusts enhance overall stability and balance. This translates to better control during other exercises and daily activities.
Enhanced Bone Density: Like other weight-bearing exercises, hip thrusts can put positive stress on your hip and thigh bones, potentially helping to improve bone density. This is particularly relevant for maintaining bone health as we age.
Functional Strength for Daily Life: Stronger glutes make everyday movements like climbing stairs, standing up from a chair, or lifting objects easier.
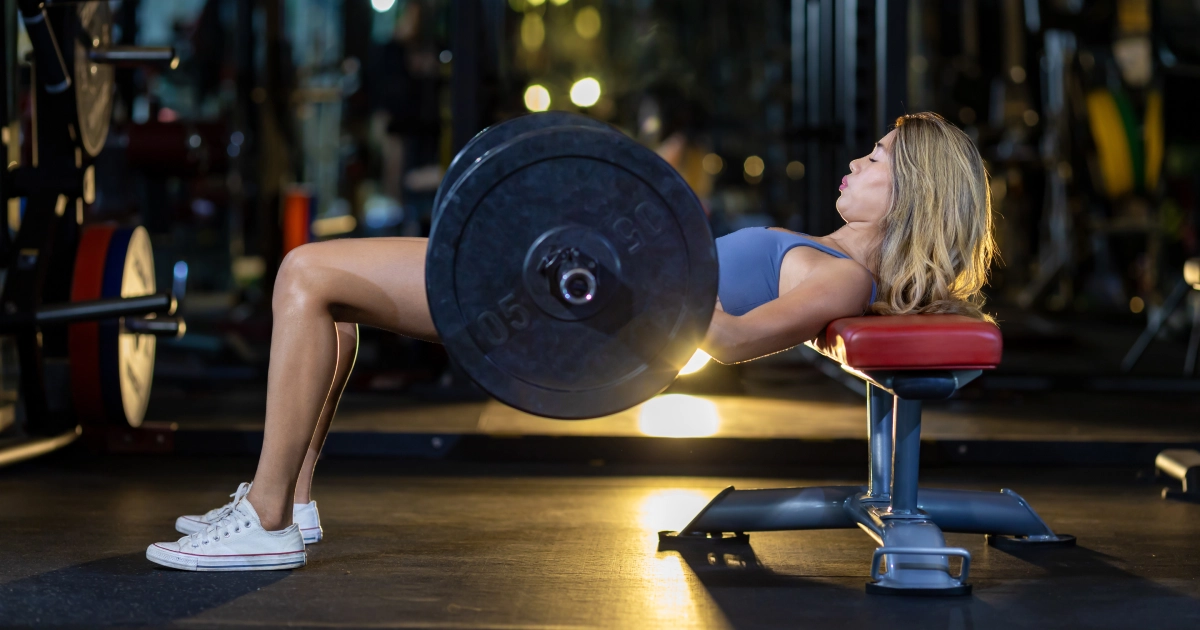
How to Perform the Barbell Hip Thrust Exercise with Proper Form
Correct hip thrust form is crucial for getting results and staying safe. The barbell hip thrust is the standard variation. Let’s break down the setup and execution.
Phase 1: The Setup
Taking the time to set up correctly makes a huge difference.
Find a Stable Bench: You need a sturdy weight bench that won’t slide. Ideally, it should be about 16 inches high, or roughly knee-level. Place the long side firmly against a wall or heavy rack to prevent movement.
Prepare the Barbell:
Padding: Use a thick barbell pad where the bar rests on your hips for comfort. Pain can distract you from good form.
Weight Plates: Load your desired weight using Bumper Plates. Standard 45lb/20kg plates make it easier to get under the bar. If using lighter weights, you might need to elevate the bar slightly off the floor using extra plates.
Collars: Always use barbell collars to secure the plates.
Position Your Body:
Sit on the floor with your upper back against the bench edge. The point of contact should be around the bottom of your shoulder blades. Your knees should be bent and feet flat on the floor.
Roll the padded barbell over your legs until it rests comfortably in your hip crease. Lightly hold the bar to keep it stable, but don’t lift with your arms.
Phase 2: The Execution
Now for the actual movement. Focus on control and feeling your glutes work.
Foot Placement: This is key for targeting the glutes. Position your feet so that when your hips are fully lifted, your shins are vertical (straight up and down), forming a 90-degree angle at your knees.
Feet too close = more quads.
Feet too far = more hamstrings.
Aim for a shoulder-width stance, toes pointing forward or slightly out. Adjust after the first rep if needed to feel it most in your glutes.
Initiate the Thrust:
Take a deep breath and brace your core tightly, like you’re about to be punched in the stomach. Maintain this brace throughout the rep.
Drive through your heels firmly into the floor to lift your hips. You can even lift your toes slightly inside your shoes to ensure you’re pushing through the heels.
The Ascent:
Push your hips straight up towards the ceiling using your glutes. Your upper back stays on the bench, acting as a pivot point. Avoid using momentum.
The Lockout (Top Position):
Stop when your body forms a straight line from shoulders to hips to knees (like a tabletop). This is full hip extension.
Squeeze your glutes hard at the top. Think about tucking your tailbone slightly under (a posterior pelvic tilt) to maximize the squeeze and protect your lower back. Keep your ribs down; don’t arch your back.
Hold this peak contraction for a second or two.
Keep your chin slightly tucked, looking forward or slightly up. Avoid letting your head fall back.
The Descent:
Lower the weight back down slowly and with control. Don’t just drop it.
Lower until your hips are just above the floor, or gently touch down before the next rep. Maintain core tension throughout.
Common Hip Thrust Exercise Mistakes (and How to Fix Them)
Even experienced lifters make mistakes. Proper hip thrust form requires focus. Here are common errors:
Arching the Lower Back: Often happens with too much weight or poor core bracing.
Fix: Reduce the weight. Brace your core hard. Focus on tucking your pelvis slightly at the top (PPT). Keep ribs down.
Not Reaching Full Extension: Stopping before your hips are fully lifted.
Fix: Lower the weight. Drive hips up completely and squeeze glutes at the top. Ensure you achieve that tabletop position.
Incorrect Foot Placement: Feeling it too much in quads or hamstrings.
Fix: Adjust feet until shins are vertical at the top. Experiment to find your sweet spot for glute activation.
Lifting onto Toes: Heels coming off the floor.
Fix: Consciously drive through your heels. Keep feet flat or lift toes inside shoes. Check foot distance.
Knees Caving In: Knees drifting towards each other.
Fix: Actively push knees out so they track over your toes. Using a light resistance band around your thighs can help cue this. Consider adding Banded Hip Thrusts (using resistance bands) to your routine.
Moving Too Fast / Using Momentum: Jerking the weight up or dropping it down.
Fix: Slow down the tempo, especially on the way down. Control the weight throughout the entire rep. Pause at the top.
Sliding on the Bench: Upper back shifting during the set.
Fix: Ensure the bench is stable. Actively pin your shoulder blades into the bench pad.
Focusing on form over weight is crucial for getting the hip thrust benefits and avoiding injury.
Hip Thrust Exercise Variations
Once you master the barbell hip thrust, you can explore variations to add variety or target muscles slightly differently.
Bodyweight & Minimal Equipment
Glute Bridge: Done lying flat on the floor. Great starting point or warm-up. Similar to a hip thrust on floor.
Single-Leg Hip Thrust: Uses one leg at a time, challenging balance and stability. Excellent for addressing strength differences between sides.
Feet-Elevated Hip Thrust: Increases the range of motion by placing feet on another bench or box.
B-Stance Hip Thrust: One foot works, the other provides light support. Good bridge to single-leg work.
Adding Resistance
Dumbbell Hip Thrust: Place a dumbbell across your hips. Easy to adjust weight. Try our versatile Hex Dumbbells or check the Dumbbells Collection.
Resistance Band Hip Thrust: Loop a band over hips or around knees for added tension, especially at the top. Bands increase glute medius activation when placed around knees.
Machine Hip Thrust: Some gyms have dedicated hip thrust machines. Smith machines can also be used for stability. Our Smith Machine with Dual Pulley offers versatility.
Essential Equipment for Hip Thrusts
To perform the barbell hip thrust exercise effectively and safely, you’ll need:
Sturdy Bench: Around knee height. See our Flat Bench or Adjustable Gym Bench.
Barbell: An Olympic Barbell is standard.
Weight Plates: Bumper Plates or standard plates.
Barbell Pad: Highly recommended for comfort.
Barbell Collars: Essential for safety.
(Optional) Resistance Bands: For variations or activation work.
Explore our full range of Strength Machines and Home Gym Equipment for more options.
Programming the Hip Thrust Exercise
How often and how heavy should you train?
Frequency: Training glutes 2-3 times per week works well for most people seeking strength or growth. Allow for rest between sessions.
Sets & Reps:
Strength: 3-5 sets of 3-8 heavy reps.
Hypertrophy (Growth): 3-4 sets of 8-15 moderate-to-heavy reps.
Endurance: 2-3 sets of 15+ lighter reps.
A mix of rep ranges can be beneficial.
Progressive Overload: To keep making progress, you need to gradually increase the challenge over time. This doesn’t just mean adding weight. You can also:
Do more reps with the same weight.
Do more sets.
Improve your form and control.
Decrease rest time.
Use variations or advanced techniques (like pauses).
Warm-up & Activation: Always warm up before lifting. Include mobility drills and glute activation exercises like glute bridges or banded walks to prepare your muscles. Our Foam Roller can help with mobility.
Need help structuring your workouts? Check out our guides on Workout Routines for Men.
Safety First
Safety is paramount.
Master Form First: Perfect your technique with bodyweight before adding load.
Stable Setup: Always ensure your bench is secure.
Use Padding & Collars: Protect your hips and keep weights secure.
Listen to Your Body: Stop if you feel sharp pain. Muscle fatigue is normal, joint pain is not.
Consult Professionals: If you have prior injuries (especially back or hip issues like FAI or SI joint pain) or health concerns, consult a doctor or physical therapist before starting. They might recommend modifications or alternative exercises.
Conclusion: Thrust Towards Your Goals
The hip thrust exercise is a powerful tool for building stronger glutes, boosting athletic performance, and improving functional strength. Mastering the hip thrust form is key to unlocking its benefits safely and effectively.
Remember to prioritize a stable setup, controlled movement, full hip extension with a glute squeeze, and consistent core bracing. Explore variations like the barbell hip thrust, single-leg, or dumbbell versions to keep your workouts challenging and effective. Pay attention to common mistakes, warm up properly, and apply progressive overload consistently.
By incorporating the hip thrust exercise correctly into your routine, you can build impressive strength and power in your posterior chain.